Because I’m not a pro photographer (I just love taking photos of my travels), I’ve learned that there are different key strengths you can have when capturing a moment on your travels. The types of skills that don’t involve going to school and obtaining a degree in photography. Don’t get me wrong, I would love to be able to shoot like the pros and admire their work, but I just know that I don’t have the time to commit to doing so! And so I find other ways to make my travel photography special and memorable! Here are some rules I follow (and don’t follow) on composition:
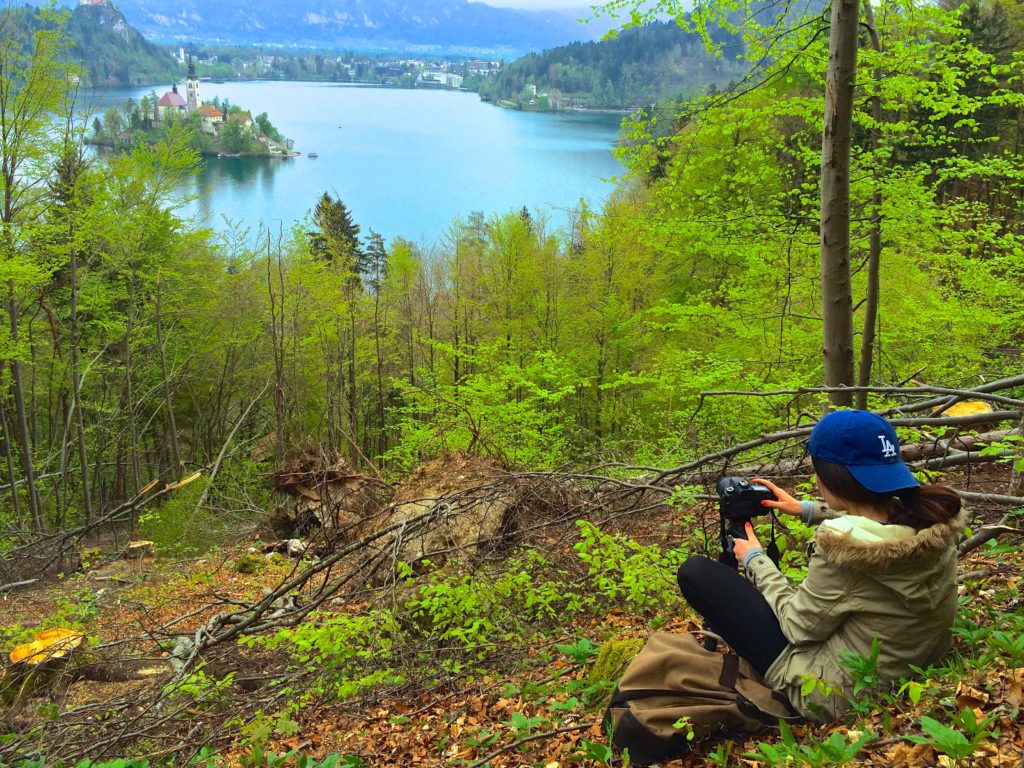
You may have already noticed that the cover image isn’t just because it shows me taking a photo, but it also shows the first point there is to make about composition:
#1 A Picture Tells a Thousand Words
There are many ways in which one could capture Lake Bled in Slovenia (pictured above). The typical “taken from a vantage point” I am shooting on my camera is one way, but to really tell a story of whats happening here (i.e. a photo of someone taking a photo) tells more of a story than the initial photo itself. When thinking about how you will compose your photos, think about what story it tells before any other considerations. Those are the photos people love and respond well to, because they can imagine themselves there in that moment, rather than just seeing the place itself.
#2 Avoid the Middle
So the story goes, it is important in photography to avoid the middle as it shows a static, boring image. The “rule of thirds” has always been the rule to go by in photographic terms, whereby you break the photo up into imaginary lines both horizontally and vertically and aim to put your subject in one of those boxes.
#3 Use the Middle
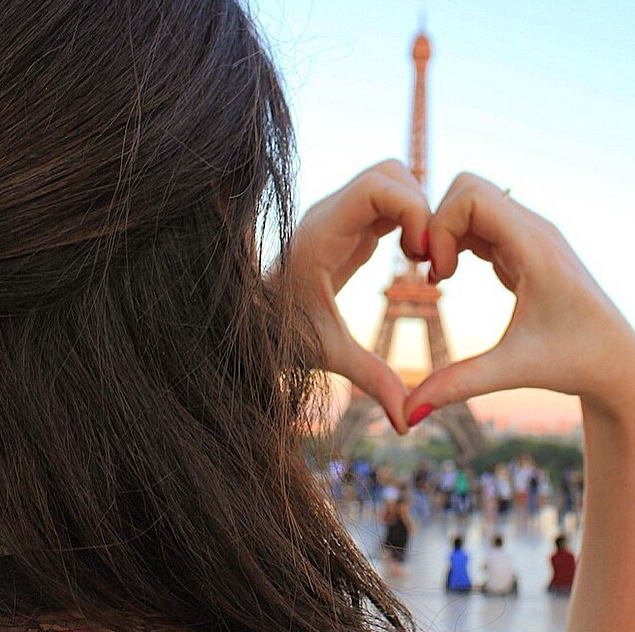
Now I know this completely contradicts the previous rule, but times are changin’ my friend! “Rule of thirds” photos are typically great, but this rule is a little stale if you ask me (my instagram might as well be a poster girl for using the middle to frame photos). If the background tells an interesting enough story, the subject can get away with a centre framing and while it might initially appear that this is the “focus” of the image, you’ll soon realise that it is quite the contrary! A subject in the middle can often draw focus to its’ surrounds because it is just so confronting that you’re forced to see the bigger picture.
#4 Fill the Frame
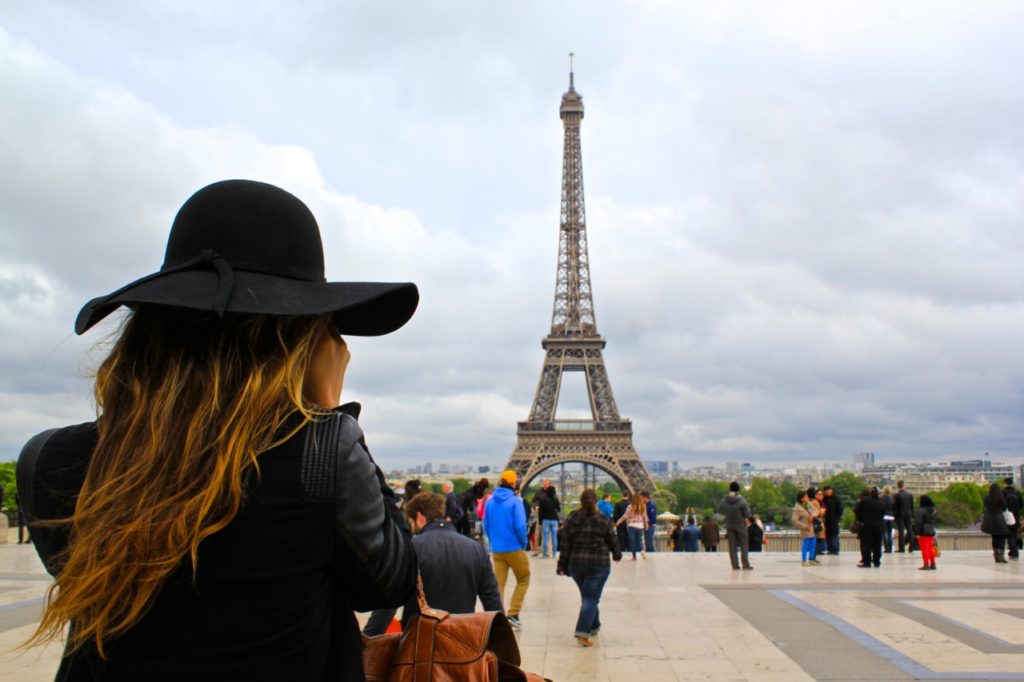
When you’re shooting an object from afar, particularly a well-know object like the Eiffel Tower, it can be quite bland to simply shoot the object with a lot of sky in the background and leaves little to the imagination. Instead, consider how you can “fill” the frame – i.e. the picture above or by shooting the Eiffel Tower from below on an angle, from behind some fresh blooms with them as the focus, etc.
#5 Put Things Into Perspective
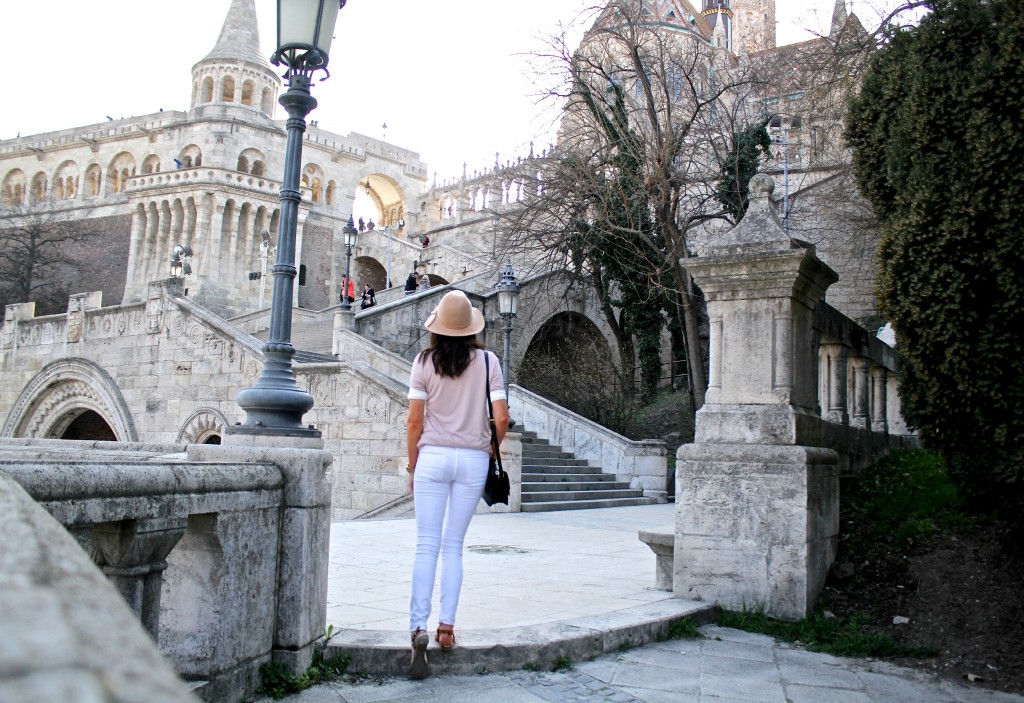
This is a great rule to follow when photographing landscape shots, as well as large buildings or complexes that are impossible to show their size without putting it into perspective by putting a subject or object in the frame. When shooting these types of photos solo, I usually find a nearby ledge to prop my camera on and run into the frame, almost always facing away from the camera so as to show off the destination around me, not just another ‘tourist snap’ of me smiling saying “I WAS HERE” (though if that’s your thing, you go Glen Coco)!
#6 Work Those Angles
I always (always, always, always) get asked how I take my travel photos if I travel solo. Spoiler: I place my camera on a gorillapod, tripod, on a ledge or on the ground and prop it up with a stick or rock (yes really!) But it isn’t always a hindrance, as you often find yourself getting crafty and creative in order to get a cool shot and try things you wouldn’t normally give a try. By placing my camera on the ground for the above image, I’ve changed the scene entirely.
#7 Let The Background Tell the Story
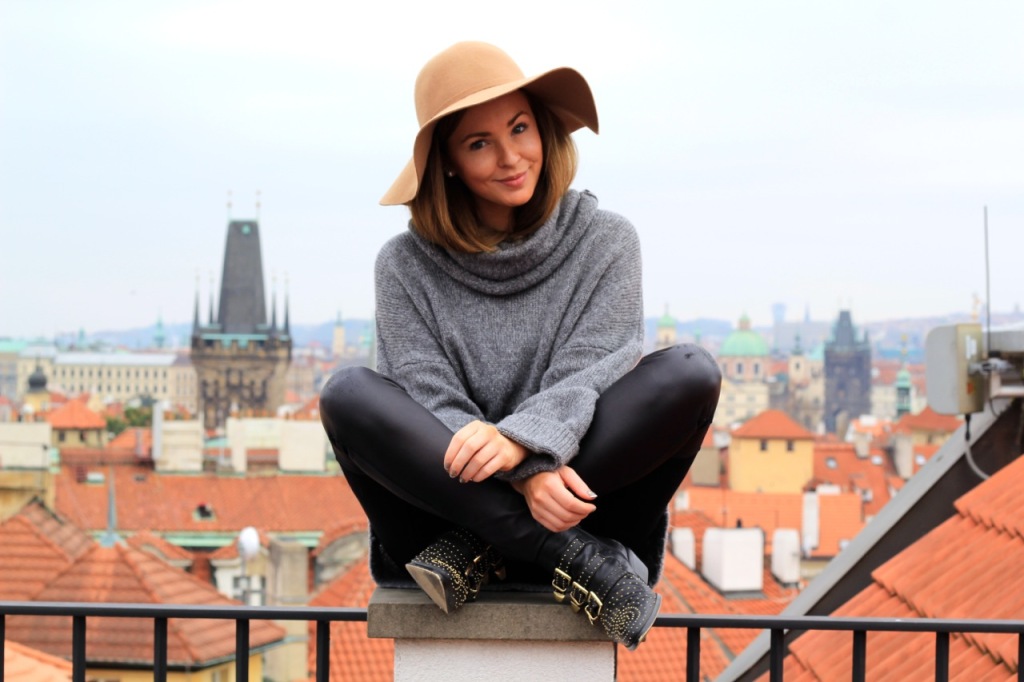
When taking portrait photos, a great composition photo is to allow the background to tell the story, rather than the subject itself.
#8 Break The Rules
Rule #8: NEVER. STOP. TRYING. NEW. THINGS. This above photo was a total fluke and I was really chuffed with the end result as it just shows a complete different way of viewing a picnic. I chose to blend the idea of a “flat lay” blogger-style photograph with a typical travel photo and this was the end result! For this photo I had a helping hand!
FAQ:
What camera do you use?
An Olympus PEN E-PL7 for day to day and OM-D Mark II for more thoughtful shots.
What lenses do you use?
Nearly always a 14-42mm on my Olympus PEN and a fisheye on my OMD. I also have a few long range and wide angle lenses that I use for landscape photography, but typically only travel with the first two in order to travel light.
What camera settings do you use?
I would love to say I use manual all the time and know the ropes, but I’m still learning! For quick photos, I use automatic settings or select “brighter” a notch or two on my Olympus PEN, particularly for blog photography like flat lays.
What editing software do you use?
I use only iPhoto or “Photos” on my Macbook to tweak a few things like exposure or saturation.
How do you transfer your photos for instagram uploads?
My cameras come with the software (downloadable app) to transfer directly from my camera to my phone. If I edit photos in post production, I transfer using the cloud by Apple.


The tips you give that is well described. so thank you for your awesome blog.