
If you’re wondering how to take better food photos, you’ve come to the right place. If you’re wondering how to take said photos in a restaurant without looking like a fool, even better. As someone who has gone from taking miserable photos of beautiful food to taking beautiful photos of beautiful food and make it look even remotely appetising, I speak from experience when I say practice makes perfect!
THE EQUIPMENT
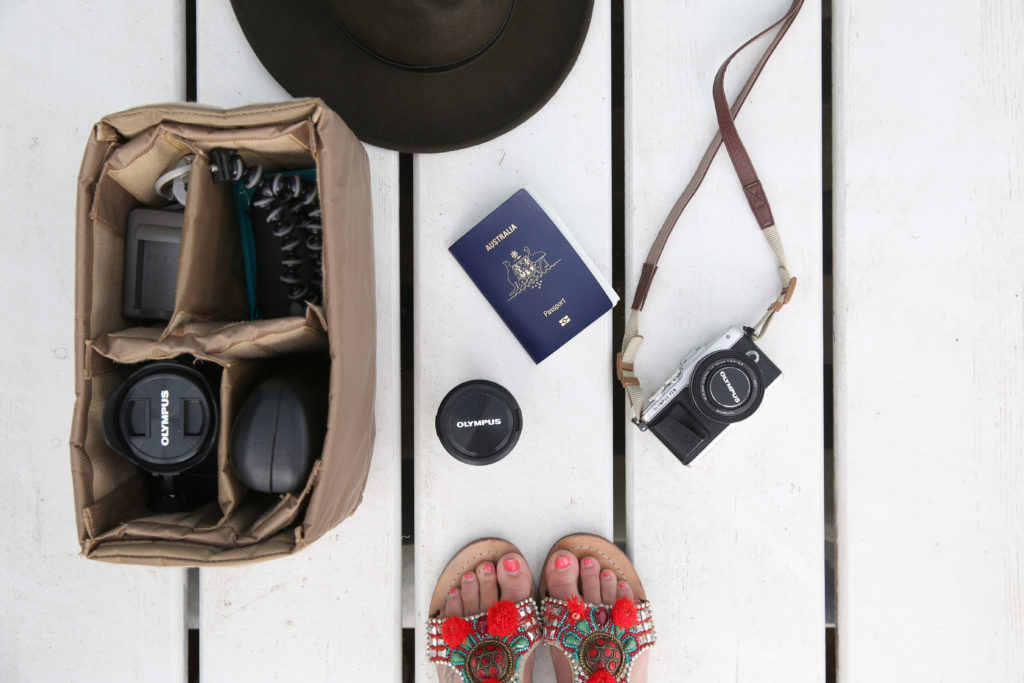
There are a few key points to be made here, but let me start by saying you do not need to spend a fortune to buy the right equipment to take great photos. There are three different cameras I rely on to take my photos, each a different price bracket. First is the iPhone – great for quick photos, discreet, small and has a multi-purpose (you’ve probably brought it to the restaurant anyway). Second is my Olympus PEN E-PL7, a small, light camera that works a whole lotta magic. And finally, my Olympus OMD 5 Mark II which I mostly use for landscapes and wouldn’t generally bring to a restaurant anyway. Moral of the story: smaller might not be necessarily better, but it works just fine!
LIGHT
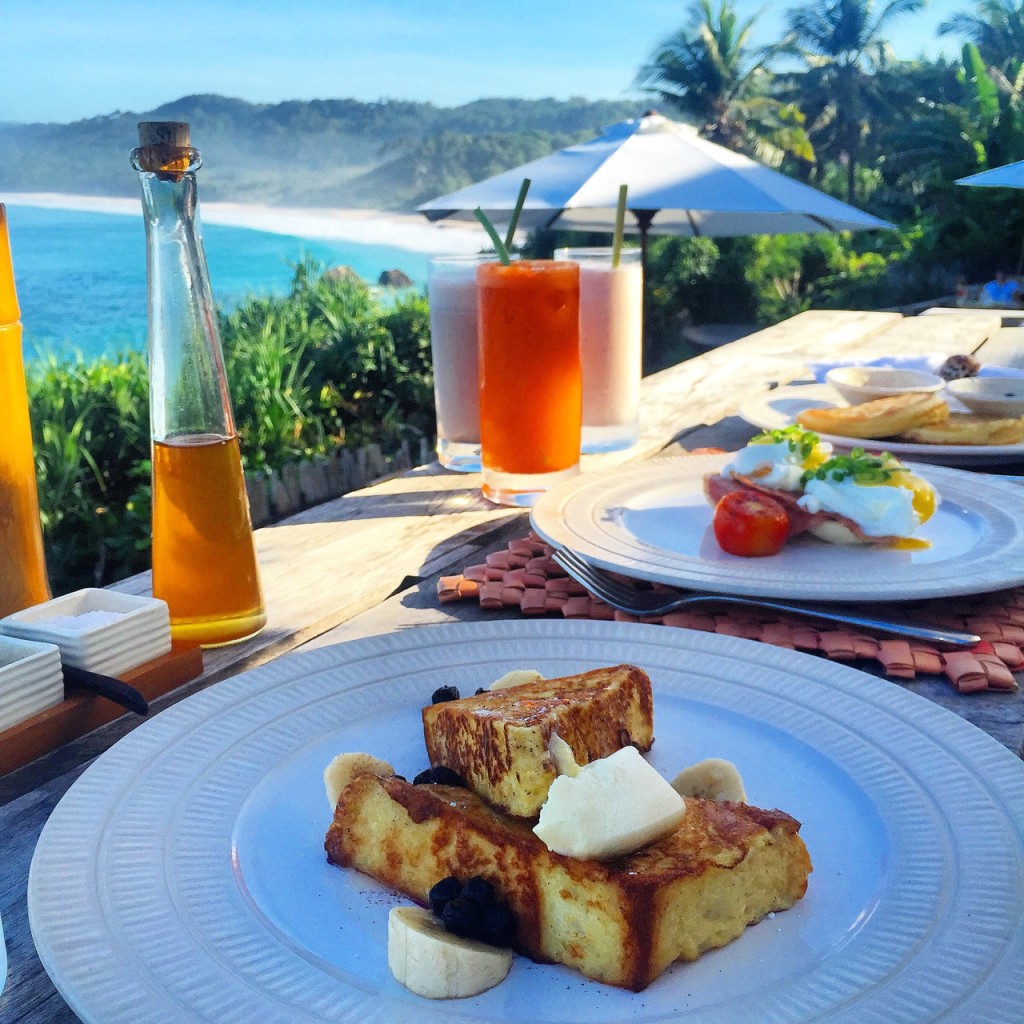
Lets start with the simplest answer: natural light trumps all. In order to avoid that murky yellow colour from low light scenarios, it is best to photograph food during the day and better yet, outdoors. In addition, lunch is always cheaper than dinner… so you have a win-win.
However if you do wish to photograph food in the evenings, the best solution I have found that is neither invasive on other diners nor attracts too much attention, is to use my iPhone torch (and often another person’s at the table) to shine light from either side to get an even light on the subject (the food). Then I will use my Olympus PEN to take the photograph, et voila! Mission accomplished.
& what about that little thing called a flash? Don’t use it. Ever.
FRAMING
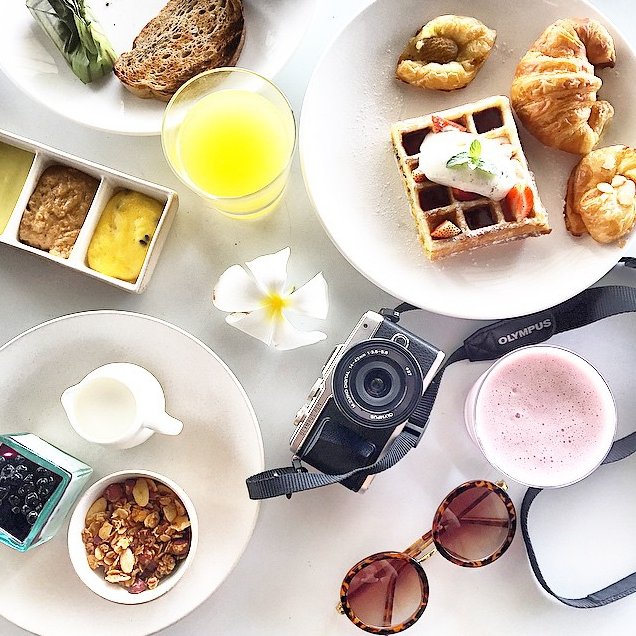
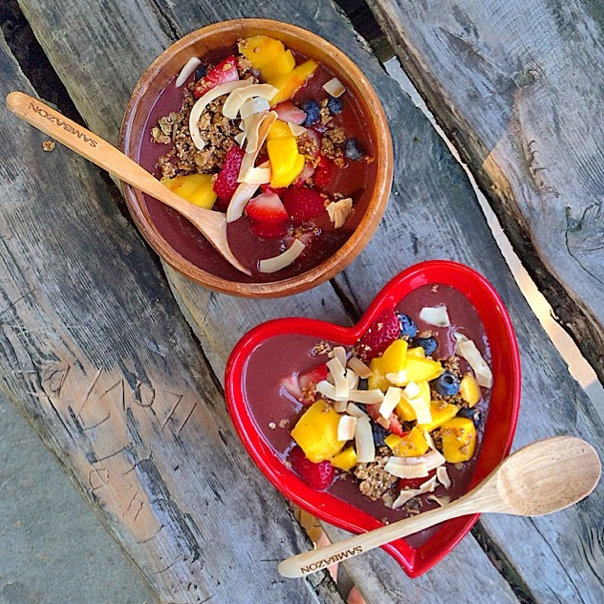
Taking photographs of food can either be one of two things: fun or boring. Taking a standard point-and-shoot photo of your x1 item of food doesn’t get too many people that excited (unless you’re photographing a recipe, then by all means). Framing food should tell a story: i.e. if you’re on a tropical getaway, use some local flowers in the frame, a pair of sunglasses or some fresh fruit to showcase your location and give more to the photo than just an item of food.
POST EDITING
Don’t be afraid to touch up your food photos, especially if you’ve taken them in dim light and they require a little nudge here and there. I keep it really simple and use iPhoto to edit my photos or within the instagram app if I’m uploading there. All I do is increase the brightness, tone down the highlights to counterbalance, increase the saturation a little, increase the sharpness and adjust the shadows if needed.
LEARN FROM THE BEST
The best way to improve your food photo taking skills are to follow some of the amazing food accounts that really showcase food photography at its best. My favourites are: @breakfastcriminals @foodfeels @sliceofpai @pinchofyum @abeautifulmess.
Do you have any other great food instagram accounts to follow!? Be sure to share them in the comments below!

Brooke Saward founded World of Wanderlust as a place to share inspiration from her travels and to inspire others to see our world. She now divides her time between adventures abroad and adventures in the kitchen, with a particular weakness for French pastries.
